- Tour Our Sites:
- Restoration
- Depot
- Library
- Fabrication
- Art
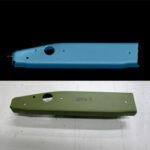
When original drawings are unavailable, missing or incomplete, 3D scanning can provide the answer. Captured scan data can also define utilizing adjacent surfaces that can be used to bridge or connect the necessary ordinates to develop a new part. Doublers or adding material for additional structure are an excellent example.
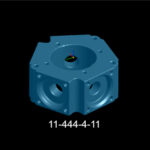
Articles that are scanned have are now digitally preserved. This can be a beneficial effort for preserving parts of high value and low availability. In addition, a 3D model can serve as excellent reference when accessed at a future date.
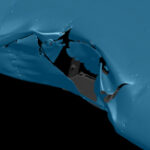
Describing damage in text is difficult. Taking photos to supplement the report is much more useful. Can you imagine supplying a DER (Designated Engineering Representative) with a 3D image that they can view from any position? By scanning the damage this a reality.
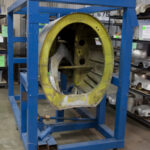
What good is a jig if it isn’t accurate? By 3D scanning a jig and dimensioning all of the critical connection points detailed verification can be made that the jig complies for tolerance(s). This application using 3D scanning is specifically efficient because the data can typically be compared to a CAD model of the jig.
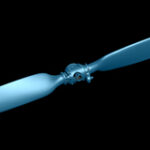
Have you had your props overhauled, dynamically balanced but there are complaints about propeller vibration? Scanning props and comparing them to each other can provide quantifiable data that will be used to identify differences and then provided to a capable service that can make the corrections. The data can also be used to disprove any theories that the props are the issue.
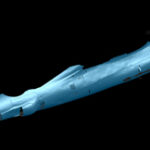
Is an aircraft that is straight and within specified dimensions important? Of course it is. By scanning an entire aircraft or just specific identified areas on an aircraft, the existing conditions (data) can be compared against the compliant values.
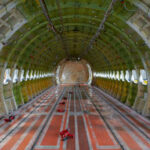
Do you retrofit cabins or aircraft interiors? What better way to capture the dimensions of a space for designing and engineering inside of it. Want to capture a space in 3d for interference analysis? Again, scanning can provide highly accurate dimensional digital dimensions that can be used for excellent reference.
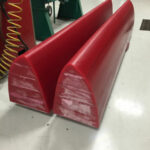
Do you need to reverse engineer a die, mold, jig, fixture or pattern? By scanning a these CAD files can be updated to reflect as-built conditions. Likewise validating or inspecting the tooling for tolerances is made easier with 3D scanning.
“We can all think of parts that are needed for restoring and maintaining our vintage aircraft that seem to be unobtainium and impossible to make. A common reason the part is impossible to make is because the part was made by craftsmen using techniques or machinery that are just as rare. Utilizing Aeroscan’s 3D scanning services, we can now digitally model these complex parts, drawn with a slide rule on pencil and paper, very accurately and efficiently. With this scanner we can combine the best of both the factory drawings and the actual dimension of an original part to make a replacement part that truly fits.” says Erik Hokuf, General Manager of AirCorps Aviation.